Buy 3 Mushroom Kits For $60
![](http://happycaps.ca/cdn/shop/files/1_b3828be5-c6f6-41c4-a25c-a3b04043095a_2048x.png?v=1677105557)
![](http://happycaps.ca/cdn/shop/files/Growing_Instructions_banner_2_2048x.png?v=1677101258)
Costco Customers 2KG Instructions
WATCH the 2KG VIDEOShiitake Mushroom 1KG Instructions
Watch The 1kg VideoBefore you start!
Analyse your block to ensure it is 50% white and 50% brown. If it appears to be too white, allow the block to sit in the original box it came in for a few days. Doing this ensures the mycelium is colonized well on the block. Do this before beginning step 1.
Analysez votre bloc pour vous assurer qu'il est à 50 % blanc et à 50 % brun. S'il semble être trop blanc, laissez le bloc reposer dans la boîte d'origine pendant quelques jours. Cela garantit que le mycélium est bien colonisé sur le bloc. Faites cela avant de commencer l'étape 1.
![](http://happycaps.ca/cdn/shop/files/1_4084f276-a895-4e45-a0dc-5e0b0350e5fb_1080x.png?v=1677100494)
Step 1
Cold Shock
Open the box and remove the humidity bag, spray bottle & mushroom block from the box. Put the new mushroom block in the fridge for at least 24-hours before setting it up.
Ouvrez la boîte et retirez le sac d'humidité, le vaporisateur et le bloc de champignons. Placez le nouveau bloc de champignons au réfrigérateur pendant au moins 24 heures avant de l'installer.
![](http://happycaps.ca/cdn/shop/files/2_fad68ee4-84d1-4afc-a3c4-a5285454a6e8_1080x.png?v=1677100494)
Step 2
Drop Shock & Open
Remove the block from the fridge and drop it from a height of 12” onto a hard surface, to send a shock through the block. Cut open the bag and leave about 2” of the bag at the bottom of the block, similar to a bowl holding the block. Remove any mushroom pins that might have grown prematurely.
Retirez le bloc du réfrigérateur et laissez-le tomber d'une hauteur de 12 pouces (30 cm) sur une surface dure, pour envoyer un choc à travers le bloc. Ouvrez le sac en le coupant et laissez environ 2 pouces (5 cm) du sac au bas du bloc, comme un bol tenant le bloc. Retirez tous les primordia de champignons qui auraient pu pousser prématurément.
![](http://happycaps.ca/cdn/shop/files/3_f7777183-d07e-433d-b50e-91675fbd731c_1080x.png?v=1677100494)
Step 3
Setup
Place a damp paper towel on a plate, then set the mushroom block on top of the paper towel. Using the provided humidity tent, roll the opening of the tent up and stand it loosely over your block. Mist the block and the inside of the humidity tent 1-3 times per day.
Find a good spot for your block to live. An ideal spot would be on a countertop, out of direct sunlight and away from drafts or heaters. We recommend placing it on your kitchen counter!
Placez une serviette en papier humide sur une assiette, puis posez le bloc de champignons sur la serviette en papier. Utilisez la tente d'humidité fournie, roulez l'ouverture de la tente vers le haut et placez-la librement au-dessus de votre bloc. Vaporisez le bloc et l'intérieur de la tente d'humidité 1 à 3 fois par jour. Trouvez un bon endroit pour votre bloc. Un endroit idéal serait sur un comptoir, à l'abri de la lumière directe du soleil et des courants d'air ou des chauffages. Nous recommandons de le placer sur le comptoir de votre cuisine !
![](http://happycaps.ca/cdn/shop/files/5_3c574b62-3262-4600-9416-cce0ce5dec39_1080x.png?v=1677100494)
Step 4
Harvest
In 1-2 weeks, you should see mushroom pins starting to grow all over the block. Harvest when the caps start to open up and the gills on the underside of the cap are visible, before the caps fully flatten out.
Dans 1 à 2 semaines, vous devriez voir des primordia de champignons commencer à pousser sur tout le bloc. Récoltez-les lorsque les chapeaux commencent à s'ouvrir et que les lamelles sous le chapeau sont visibles, avant que les chapeaux ne s'aplatissent complètement.
![](http://happycaps.ca/cdn/shop/files/Shiitake_Growing_Instructions_1080x.png?v=1677100721)
Step 5
Rest
Remove the humidity tent and stop misting the block. Let the block rest & dry out for 2 weeks before attempting the next flush.
Retirez la tente d'humidité et arrêtez de vaporiser le bloc. Laissez le bloc reposer et sécher pendant 2 semaines avant de tenter la prochaine pousse.
![](http://happycaps.ca/cdn/shop/files/Shiitake_Growing_Instructions_1_1080x.png?v=1677100775)
Step 6
Soak and Repeat
Soak the block in a pot of cold water overnight. Set something heavy on top of the block to ensure it is fully submerged in water. Follow Steps 3-6 to begin the next flush. This block should give 2-4 harvests of mushrooms. Throw the block in the compost when it starts to fall apart or if it develops green mold.
Faites tremper le bloc dans une casserole d'eau froide pendant la nuit. Placez quelque chose de lourd sur le bloc pour vous assurer qu'il est complètement immergé dans l'eau. Suivez les étapes 3 à 6 pour commencer la prochaine pousse. Ce bloc devrait donner 2 à 4 récoltes de champignons. Jetez le bloc dans le compost lorsqu'il commence à se désagréger ou s'il développe de la moisissure verte.
Added Shiitake Growing Tips!
Check your humidity levels.
+
Check your humidity levels.
+
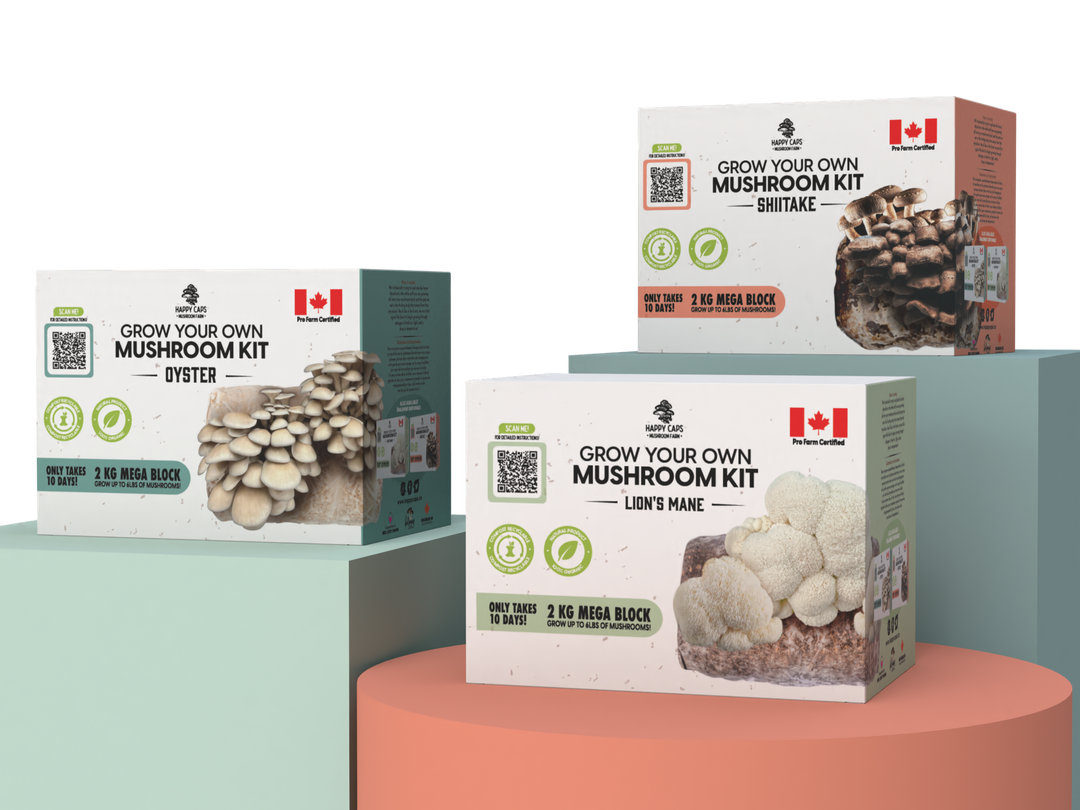
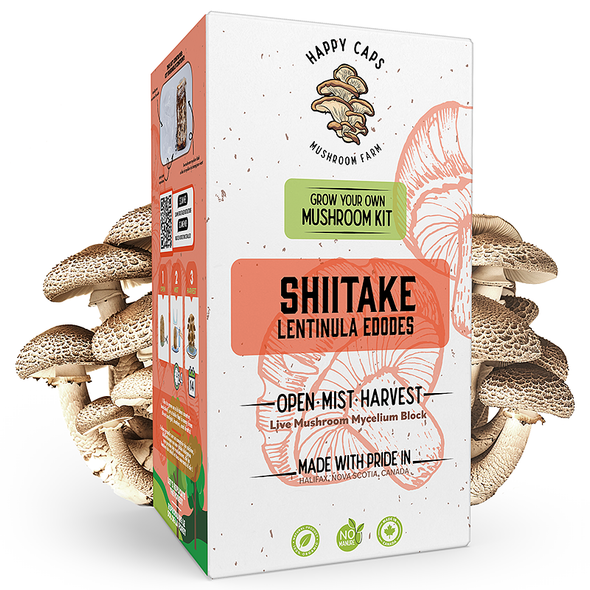
*Shiitake requires high humidity at first (over 90%!). Once the mushroom pins form, reduce the humidity to 70%. Make sure that it is very humid inside the humidity tent for the first few days. Remove the humidity tent once the mushrooms are almost full grown (or if the tent no longer fits over the block)
What are the brown spots?
+
What are the brown spots?
+
*The brown spots on the block are normal. The block will turn almost totally brown before it is ready to produce
Make sure it's getting these 3 things.
+
Make sure it's getting these 3 things.
+
* Shiitake can be temperamental. Be patient with your block and ensure it’s getting light, moisture & fresh air. Use clean utensils for harvesting, to prevent contamination.